Homemade Shake and Bake: Easy Recipe with Pantry Staples
Making your own shake and bake mix is a smart way to get a crispy texture. It’s easy to do with ingredients you probably have at home. This method is also good for saving money on food. It makes your weeknight dinners better with less effort and more taste.
In this guide, you’ll learn to make your own shake and bake mix. You can pick the flavors and ingredients you like. It’s rewarding to make a meal your family will enjoy.
Table of Contents
Key Takeaways
- Homemade shake and bake is easy to make with pantry staples.
- You can customize the flavors to suit your taste.
- This method is more affordable than store-bought options.
- Control sodium levels and avoid artificial preservatives.
- Perfect for enhancing weeknight dinners.
Why You Should Make Your Own Coating
Making your own DIY shake and bake coating has many benefits. You get to choose what goes into it, making your meals healthier. You can also adjust the flavors to fit your family’s taste and dietary needs.
One big plus is controlling the sodium. Store-bought coatings often have too much salt, over 500 milligrams per serving. Making it yourself lets you pick low-salt options, keeping your meals healthier.
Control Over Sodium Levels
Lowering sodium can be good for your health. Here are some tips:
- Choose herbs and spices that add flavor without salt.
- Try garlic powder, onion powder, or paprika.
- Use lemon juice or vinegar for a tangy taste without added sodium.
Avoiding Artificial Preservatives
Another great thing about DIY coatings is avoiding artificial preservatives. Many commercial coatings have additives like BHA or BHT. You can skip these by using fresh, recognizable ingredients. This way, your family gets to enjoy meals that are good for them. Here’s why you might want to avoid preservatives:
- Preservatives can cause allergic reactions in some people.
- Natural ingredients often taste better and are more nutritious.
- Homemade options help you live a healthier lifestyle.
Essential Pantry Staples for Your Blend
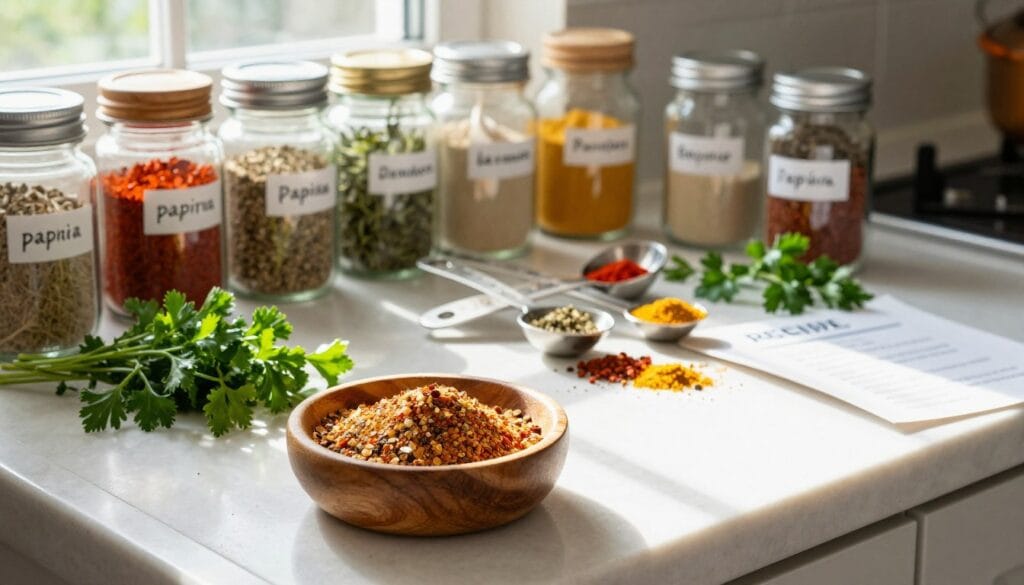
Making a tasty homemade chicken coating mix begins with the right ingredients. Having the essential pantry items ready lets you make a batch anytime. You’ll need breadcrumbs, flour, and a mix of dried herbs.
Panko breadcrumbs make your coating extra crunchy. They are bigger and airier than regular breadcrumbs. Don’t forget to add these important items to your pantry:
- Garlic powder
- Onion powder
- Paprika
- Dried oregano
These spices add flavor and make your homemade chicken coating mix complete. With these basics, you can adjust the coating to your liking.
| Ingredient | Purpose |
|---|---|
| Panko Breadcrumbs | Provides superior crunch |
| Flour | Acts as a binding agent |
| Garlic Powder | Adds savory flavor |
| Onion Powder | Enhances depth of flavor |
| Paprika | Gives color and mild spice |
| Dried Oregano | Adds herbal notes |
With these pantry staples, you’re set to make a tasty homemade chicken coating mix. Get ready to enjoy a crispy, delicious meal you made yourself!
The Perfect Homemade Shake and Bake Recipe
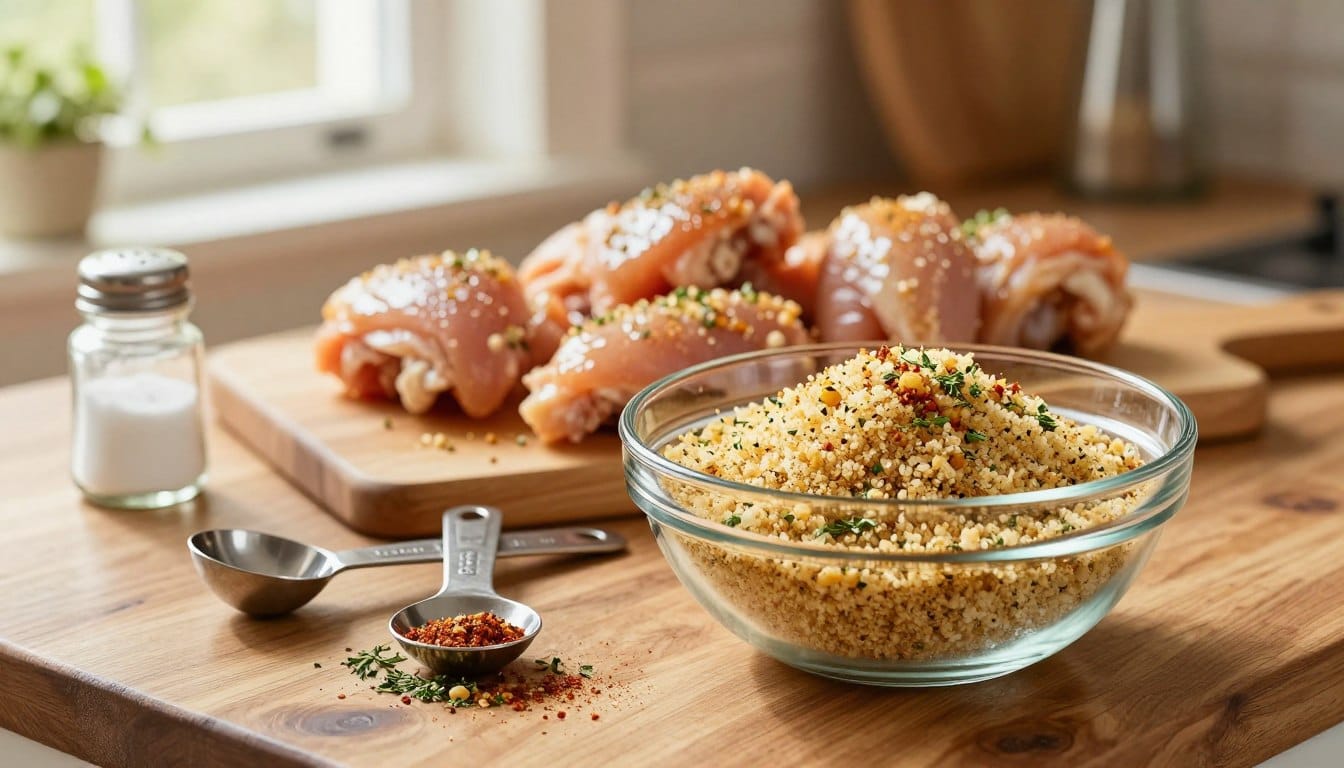
Making your own shake and bake is easy and can make your meals better. You just need the right amounts and some basic ingredients. This way, you can make a tasty seasoning blend for your chicken.
It’s important to measure your dry ingredients carefully. This ensures your seasoning blend tastes the same every time.
Measuring Your Dry Ingredients
First, get your ingredients ready. For a great seasoning blend, you’ll need:
- 2 cups of breadcrumbs
- 1 tablespoon of salt
- 1 tablespoon of paprika
- 1 teaspoon of garlic powder
- 1 teaspoon of onion powder
- 1 teaspoon of black pepper
Measuring right means your homemade shake and bake will always taste great.
Mixing the Seasoning Blend
After measuring, it’s time to mix. Here’s how:
- Put all dry ingredients in a big bowl or a heavy-duty plastic bag.
- Whisk or shake well to mix the salt and spices evenly.
- Save any extra seasoning blend in an airtight container for later.
Using this seasoning blend will make your chicken crispy and tasty. You’ll love making your own seasoning!
Customizing Your Seasoning Profile
Once you learn the basic shake and bake seasoning blend, it’s time to get creative. Making your seasoning unique can take your dishes to the next level. By trying out different flavors, you can make your meals exactly how you like them.
Think about adding these ingredients to your shake and bake seasoning blend:
- Cayenne Pepper: For a spicy kick, add a teaspoon. This will give your dishes a fiery flavor.
- Smoked Paprika: Incorporate this for a deeper, wood-fired taste. It adds a rich aroma and color.
- Grated Parmesan Cheese: A sprinkle can add a gourmet touch, making your breading more flavorful.
- Dried Parsley: This herb adds freshness and a pop of color to your shake and bake mixture.
Mix and match these ingredients based on your preferences. Each addition can change the flavor profile significantly. Whether you prefer something spicy or savory, customizing your shake and bake seasoning blend is a fun way to experiment in the kitchen.
Tips for Achieving Crispy Chicken Results
To get that perfect crunch in your easy breaded chicken recipe, focus on two key aspects. Prepare the meat surface and optimize the oven temperature. These steps will ensure your chicken turns out crispy and delicious.
Preparing the Meat Surface
Start by patting the chicken dry with paper towels. Removing excess moisture is crucial. If the chicken is wet, the breading will not stick properly. This leads to a soggy texture instead of the crispy finish you desire.
- Use paper towels to blot the chicken.
- Make sure all sides are dry.
- Consider marinating for added flavor, but ensure it’s not too wet.
Optimizing Oven Temperature
Preheat your oven to 400 degrees Fahrenheit. This high temperature helps the coating crisp up quickly as soon as the chicken goes in. A properly heated oven ensures that the breading adheres well and forms that delightful crunch.
- Always preheat your oven before baking.
- Use an oven thermometer to check accuracy.
- Cook the chicken on a wire rack for even heat distribution.
Storing Your Dry Breading Mixture
Keeping your homemade chicken coating mix fresh is key. It can last months if stored right. Here’s how to keep it fresh for your next meal.
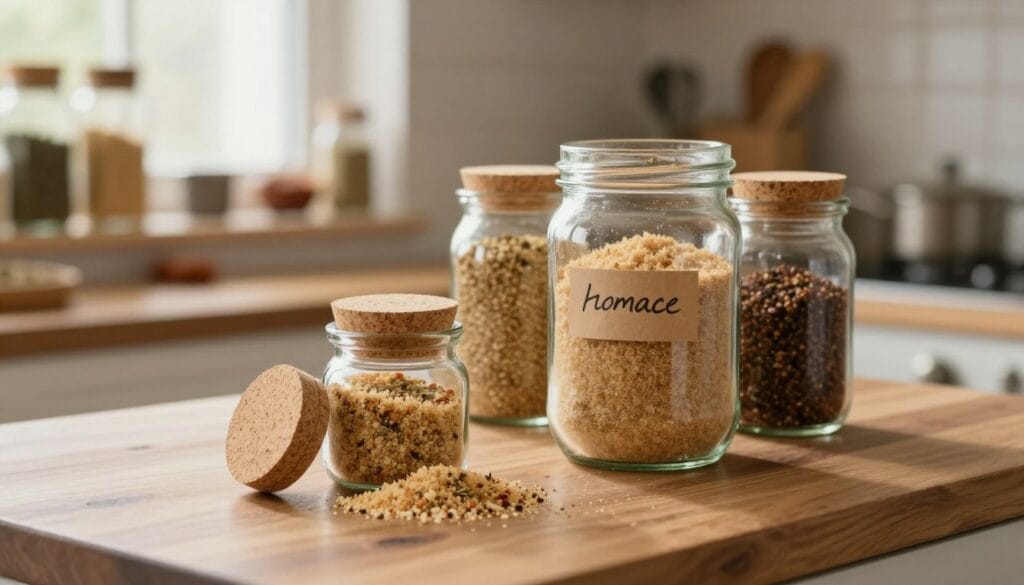
- Use an airtight glass jar or a vacuum-sealed bag.
- Keep the mixture in a cool, dark pantry.
- Avoid exposure to moisture and heat.
Stored right, your mix can last up to three months. Always check for smell or color changes before using. This means the spices might have lost their flavor.
| Storage Method | Duration | Notes |
|---|---|---|
| Airtight Glass Jar | Up to 3 months | Best for maintaining freshness |
| Vacuum-Sealed Bag | Up to 3 months | Prevents moisture exposure |
| Cool, Dark Pantry | Indefinite (if unopened) | Store away from heat sources |
By following these tips, you can enjoy your homemade chicken coating mix anytime. Proper storage keeps the flavor and makes cooking better.
How to Use Your DIY Shake and Bake Coating
Using your DIY shake and bake coating is easy and effective. It makes sure your chicken is coated evenly, leading to a tasty meal. Just follow these steps for the best results.
Applying the Breading Evenly
To get an even coat, put your chicken pieces in a big resealable bag. Put a lot of your DIY shake and bake coating in it. Close the bag and shake it a bit. This way, the coating will cover all of the chicken.
Ensuring Proper Adhesion
To make the coating stick well, brush the chicken with olive oil or an egg wash before putting it in the bag. This helps the coating stick and makes your chicken golden-brown.
Here are some tips for perfect results:
- Use fresh chicken for the best flavor.
- Let the coated chicken rest for a few minutes before baking.
- Preheat your oven to the recommended temperature.
By following these steps, your DIY shake and bake coating will make your chicken dish tasty and crispy. Enjoy your meal, knowing you made it yourself!
Serving Suggestions for Your Meal
Your easy breaded chicken recipe is versatile. It goes well with many side dishes, making it great for weeknights. Here are some tasty options to go with your meal:
- Roasted vegetables, such as carrots, broccoli, and bell peppers
- A fresh garden salad with mixed greens and your favorite dressing
- Creamy mashed potatoes for a comforting touch
- Steamed rice or quinoa for a healthy grain option
The breading’s neutral taste pairs well with many dipping sauces. Try these:
- Classic honey mustard
- Tangy barbecue sauce
- Spicy buffalo sauce
- Garlic aioli for a gourmet twist
These combinations make for a well-rounded and enjoyable meal. Your family will love the crispy chicken with these sides. You can choose what you like best. With an easy breaded chicken recipe, dinner is both simple and tasty.
Benefits of Avoiding Store Bought Mixes
Making your own copycat shake and bake mix has many perks. It’s a cost-effective way for families to enjoy tasty meals. You can buy ingredients in bulk, which cuts down your grocery expenses.
Another big plus is the chance to tailor flavors to your liking. Store mixes might not suit everyone’s taste. But, with your own mix, you can tweak the seasonings to match your family’s preferences or dietary requirements.
Cost Effectiveness for Families
Here are some ways making your own mix can save you money:
- Buying spices in bulk lowers the cost per use.
- Creating multiple batches means less frequent shopping trips.
- Using pantry staples reduces waste and saves money.
Customizing Flavor Profiles
With homemade mixes, you can:
- Adjust spice levels to suit your taste.
- Add unique herbs for a personal touch.
- Experiment with different flavors for variety.
| Store Bought Mix | Homemade Copycat Shake and Bake |
|---|---|
| Higher cost per packet | Lower cost with bulk ingredients |
| Limited flavor options | Unlimited customization possibilities |
| Contains preservatives | All-natural ingredients |
Troubleshooting Common Texture Issues
If your homemade breading mixture isn’t crispy, there might be a few reasons. Fixing these issues can make your dish go from okay to amazing.
One big problem is the meat’s moisture. If it’s too wet, the breading won’t stick well. Here are some tips to help:
- Pat the meat dry with paper towels before applying the coating.
- Make sure you’re not overcrowding the baking sheet. Too much meat traps steam, making it hard for the breading to crisp up.
- Check your oven temperature. If the coating is still soft, try raising the oven temperature by 25 degrees for the last five minutes.
By making these changes, you can get the perfect texture for your homemade breading. The right method is key to great taste!
Conclusion
Learning to make homemade shake and bake is a healthier and cheaper option than buying it. You get to choose what goes into your food, making it perfect for your taste and diet. This simple method can turn your meals into something truly special.
With just a few things from your pantry, you can make chicken, pork, or veggies crispy and tasty. By following some simple tips, you’ll get great results every time. Cooking at home becomes even more fun when you try out new spice mixes.
Begin your homemade shake and bake adventure today. Improve your cooking and enjoy making tasty meals for your family. Your kitchen will become a place of creativity and delicious flavors.
FAQ
What ingredients do I need to make a homemade shake and bake mix?
To make a homemade shake and bake mix, you’ll need breadcrumbs, preferably panko for extra crunch. You’ll also need flour and a mix of dried herbs and spices. These can include garlic powder, onion powder, paprika, and dried oregano.
How can I customize my shake and bake seasoning blend?
You can customize your shake and bake seasoning by adding spices. Try cayenne pepper for heat or smoked paprika for a richer flavor. Grated Parmesan cheese can add a gourmet touch. Feel free to experiment with your favorite herbs to create a unique flavor.
What is the best way to apply the homemade shake and bake coating to chicken?
To coat chicken evenly, place it in a plastic bag with the shake and bake mixture. Shake until it’s fully coated. For better adhesion, lightly brush the chicken with olive oil or an egg wash before adding it to the bag.
How can I ensure my breaded chicken turns out crispy?
For crispy chicken, pat the meat dry before coating. This removes excess moisture. Preheat your oven to 400 degrees Fahrenheit. This ensures the coating crisps up quickly during baking.
How should I store my homemade chicken coating mix?
Store your homemade chicken coating mix in an airtight glass jar or vacuum-sealed bag. Keep it in a cool, dark pantry. It will stay fresh and potent for up to three months.
What are the benefits of making my own shake and bake mix?
Making your own shake and bake mix lets you control sodium levels and avoid artificial preservatives. You can also customize the flavor to your liking. It’s a cost-effective alternative to store-bought mixes.
Can I use the homemade shake and bake coating on other proteins?
Yes! This homemade breading mixture works well on pork chops, fish, and vegetables. It’s a versatile addition to your cooking repertoire.
What should I do if my breading isn’t crisping up?
If your breading isn’t crisping up, check the meat’s moisture. Make sure you’re not overcrowding the baking sheet. Try increasing the oven temperature by 25 degrees during the last few minutes for better texture.
Have you tried one of our recipes? We’d love to hear what you think!
There are no reviews yet. Be the first one to write one.