How to Cook Sous Vide Chicken Breast ?
What if the difference between dry, rubbery chicken and restaurant-quality tenderness came down to a single degree of temperature?
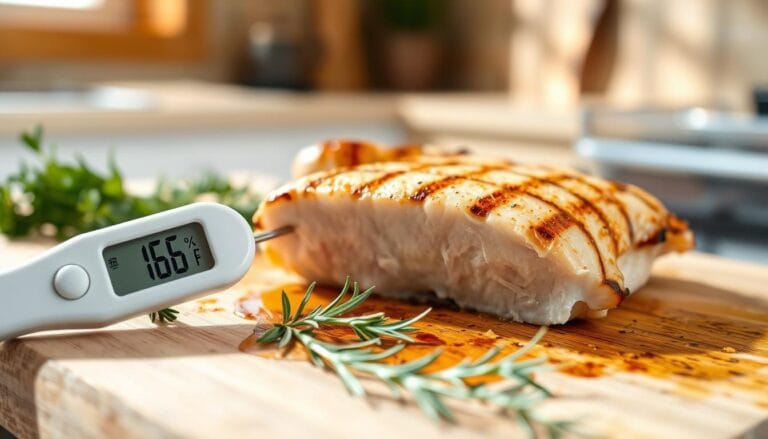
Studies on protein cookery show that chicken breast begins to lose significant moisture once internal temperatures climb past 165°F, yet most stovetop and oven methods overshoot that mark by a wide margin, leaving you with tough, overcooked meat. This is exactly the problem sous vide chicken breast solves. By cooking chicken in a precisely controlled water bath, you can hit the ideal doneness every single time, with zero guesswork.
If you’ve always believed juicy chicken breast requires special skill or luck, this method challenges that assumption entirely. In this guide, you’ll learn the exact temperatures, timing, and techniques to consistently produce moist, flavorful, perfectly cooked chicken breast — no thermometer anxiety required.
Table of Contents
Ingredients List
Here’s what you’ll need to make foolproof sous vide chicken breast:
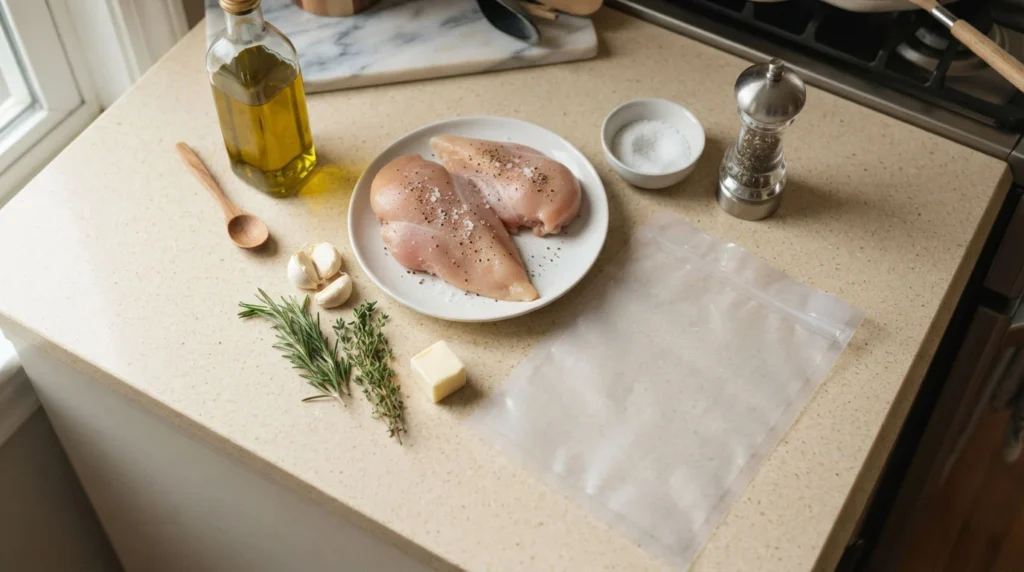
- 2 boneless, skinless chicken breasts (about 6–8 oz each) – choose evenly sized pieces for uniform cooking
- 1 tablespoon olive oil – helps sear the exterior and adds richness
- 1 teaspoon kosher salt – enhances flavor and helps with moisture retention
- 1/2 teaspoon black pepper, freshly cracked
- 2 cloves garlic, smashed – infuses subtle aromatic depth
- 1 sprig fresh thyme or rosemary – for herbal fragrance (dried herbs work as a substitute, use half the amount)
- 1 tablespoon butter – for the finishing sear, adding a golden, nutty richness
Substitution tip: No fresh herbs on hand? A pinch of dried Italian seasoning added to the bag works nearly as well. For a dairy-free finish, swap the butter for extra olive oil or avocado oil.
Timing of cooking sous vide chicken breast
- Prep time: 5 minutes
- Cook time: 1 hour to 1 hour 30 minutes (sous vide water bath)
- Searing time: 2 minutes
- Total time: approximately 1 hour 10 minutes to 1 hour 40 minutes
While this may sound longer than pan-searing, sous vide is largely hands-off — active time is under 10 minutes, roughly 80% less hands-on effort than traditional stovetop methods that require constant monitoring to avoid overcooking.
Step-by-Step Instructions
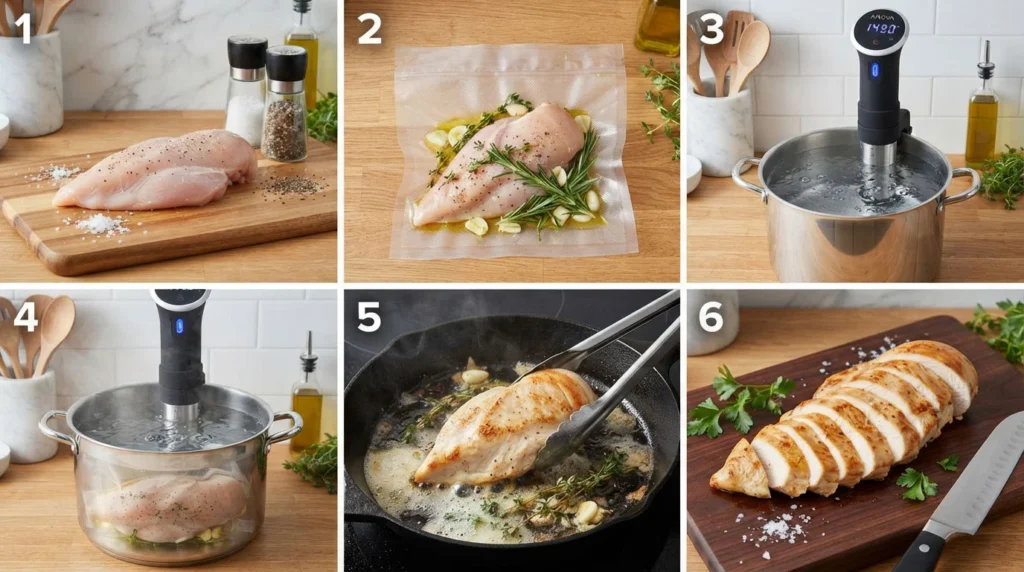
Step 1: Season the Chicken
Pat the chicken breasts dry with a paper towel, then season generously with salt and pepper on both sides. Seasoning before sealing allows the flavor to penetrate deeply during the long, gentle cook.
Step 2: Bag the Chicken
Place the chicken breasts in a vacuum-seal or zip-top freezer bag along with the olive oil, smashed garlic, and herb sprig. If using a zip-top bag, use the water displacement method: slowly lower the bag into water, letting the pressure push air out before sealing near the top. This step is key to ensuring even heat contact.
Step 3: Set Up Your Water Bath
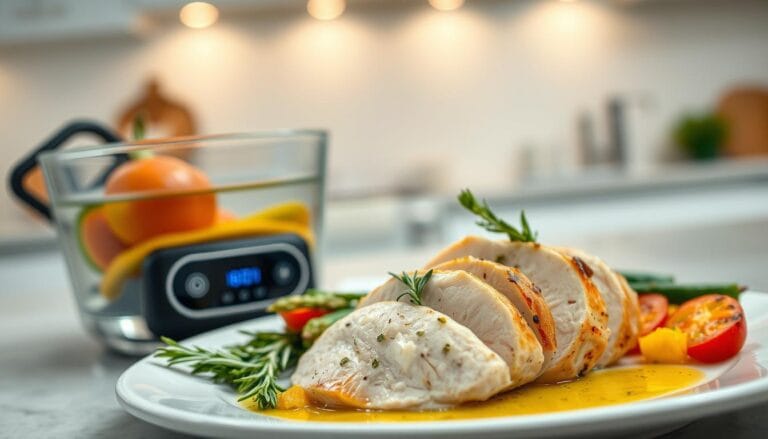
Fill a large pot or container with water and attach your sous vide immersion circulator. Set the temperature to 149°F (65°C) for tender, juicy results, or 140°F (60°C) if you prefer a slightly firmer, more traditional texture. Let the water reach temperature before adding the bag.
Step 4: Cook Low and Slow
Submerge the sealed bag fully in the water bath, clipping it to the side of the pot if needed to keep it submerged. Cook for 1 to 1.5 hours. Unlike conventional cooking, sous vide chicken breast can’t overcook within this window, since the water temperature caps how hot the meat can get — a level of forgiveness no stovetop method offers.
Step 5: Sear for Color and Flavor
Remove the chicken from the bag and pat it thoroughly dry — this step is crucial for achieving a good sear. Heat a skillet over high heat with butter, and sear each side for 45–60 seconds until golden brown. This quick sear adds texture and flavor without affecting the perfectly cooked interior.
Step 6: Rest and Slice
Let the chicken rest for 3–5 minutes before slicing against the grain. This short rest allows juices to redistribute, ensuring every bite stays moist.
Nutritional Information
Approximate values per serving (one 6–8 oz breast):
- Calories: 260–290 kcal
- Protein: 48g
- Carbohydrates: 0g
- Fat: 8g
- Sodium: 520mg
Sous vide chicken breast retains more natural moisture than pan-fried or baked versions, which often lose 15–20% more liquid during cooking — meaning you get a leaner, higher-protein result without added fats needed to compensate for dryness.
Healthier Alternatives for the sous vide chicken breast Recipe
- Lower sodium: Reduce the salt to 1/2 teaspoon and rely on herbs and garlic for flavor instead.
- Dairy-free: Skip the butter sear and finish with a light brush of olive oil instead.
- Extra flavor, fewer calories: Add a splash of lemon juice or zest to the bag for brightness without extra fat.
- Low-sodium marinade twist: Swap salt for a no-sodium herb blend and finish with a squeeze of citrus after cooking.
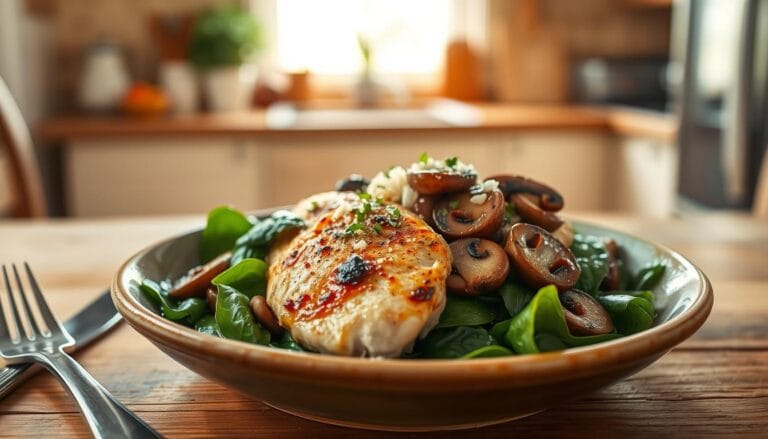
- Higher protein bowl: Slice the chicken over a bed of quinoa and steamed greens for a balanced, nutrient-dense meal.
Serving Suggestions
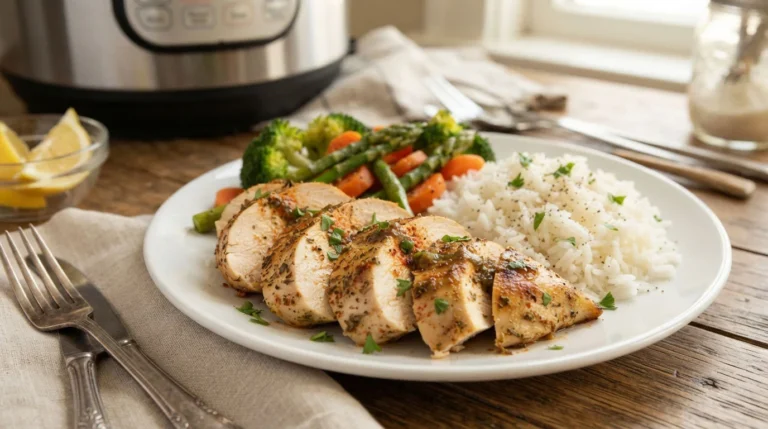
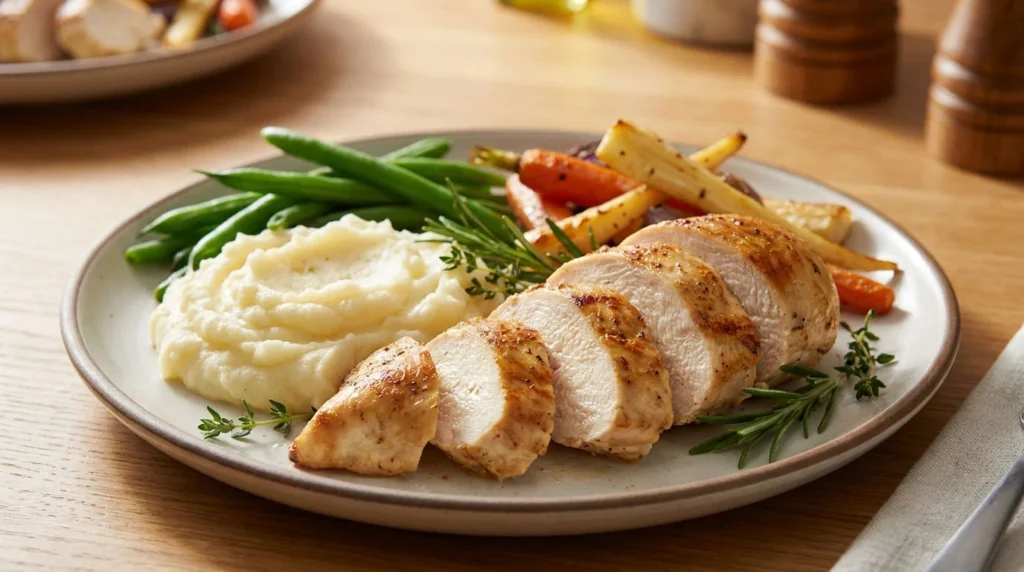
Sliced sous vide chicken breast is incredibly versatile. Fan it over a crisp Caesar salad, layer it into a grain bowl with roasted vegetables and tahini dressing, or tuck it into a warm pita with hummus and pickled onions. For a comforting dinner, serve it alongside mashed potatoes and steamed green beans, spooning any resting juices over the top. Meal-preppers love slicing it thin for high-protein lunches throughout the week, and it also shines cold, tossed into a pasta salad or chopped for chicken salad sandwiches.
Common Mistakes to Avoid
- Skipping the water displacement method: Trapped air prevents even heat transfer, leading to uneven cooking.
- Not patting the chicken dry before searing: Excess moisture prevents proper browning and results in a steamed, gray crust instead of a golden sear.
- Searing for too long: Since the chicken is already cooked through, an extended sear risks overcooking the exterior — 45–60 seconds per side is plenty.
- Using too low a water temperature: Below 140°F, texture can turn unpleasantly soft; staying within the 140–149°F range is key for both safety and texture.
- Overcrowding the water bath: Multiple bags touching each other block proper water circulation, leading to inconsistent cooking.
Storing Tips for the sous vide chicken breast Recipe
Cooked sous vide chicken breast keeps in an airtight container in the refrigerator for up to 4 days, retaining its moisture far better than conventionally cooked chicken thanks to the gentle cooking process. For meal prep, you can cook a large batch, chill the sealed bags in an ice bath immediately after cooking, and refrigerate them unopened for up to a week — simply reheat gently in a warm water bath or sear fresh when ready to eat. This method also freezes exceptionally well: freeze the sealed, cooked bags flat for up to 2 months, then thaw in the refrigerator overnight before searing.
Conclusion
Sous vide chicken breast delivers consistently juicy, perfectly cooked results by using precise water bath temperatures instead of guesswork. With minimal hands-on effort and a quick finishing sear, it’s a foolproof method for weeknight dinners or meal prep. Give it a try tonight, share your results in the comments below, and subscribe for more cooking guides!
FAQs
What temperature is best for sous vide chicken breast?
149°F (65°C) is ideal for most people, producing juicy, tender meat with a texture similar to traditionally cooked chicken. For a firmer, more traditional bite, 140°F (60°C) also works safely, provided you cook for a slightly longer time to ensure pasteurization.
What temperature should chicken breast be sous vide?
The safe range sits between 140°F (60°C) and 149°F (65°C). Anything below 140°F risks unsafe results even with extended cook times, while temperatures above 150°F start to firm up the texture more than necessary, edging back toward the dryness sous vide is meant to avoid.
How long to cook sous vide chicken breast?
For a standard 6–8 oz breast, 1 to 1.5 hours is the sweet spot. Thinner breasts (under 1 inch) can be done in as little as 1 hour, while thicker cuts (over 1.5 inches) benefit from closer to 2 hours to ensure the center reaches a safe temperature. Because sous vide cooking is time-flexible, you can safely leave chicken in the bath up to 4 hours without overcooking it.
Can you cook frozen chicken breast sous vide?
Yes — simply add about 30 extra minutes to the cook time to account for the frozen starting point. There’s no need to thaw beforehand, which makes sous vide especially convenient for last-minute meal planning.
Is sous vide chicken breast safe?
Yes. Sous vide relies on a combination of time and temperature to safely pasteurize food, rather than high heat alone. Cooking at 140°F or higher for the recommended duration eliminates harmful bacteria just as effectively as traditional high-heat methods, and often more reliably, since the temperature never fluctuates.
Why is my sous vide chicken breast rubbery?
Rubbery texture usually points to one of two issues: the cooking time was too short for the thickness of the breast, or the water temperature was set too low for too long. Undercooked connective tissue and proteins haven’t had enough time to break down properly. Sticking to the recommended time and temperature ranges above resolves this almost every time.
Do you need to sear sous vide chicken breast?
Searing isn’t required for safety since the chicken is already fully cooked, but it’s highly recommended for flavor and texture. A quick 45–60 second sear per side develops a golden, flavorful crust through browning that the gentle water bath can’t produce on its own.
Can you sous vide chicken breast without a vacuum sealer?
Absolutely. The water displacement method works just as well with a standard zip-top freezer bag: slowly lower the bag into water, letting the pressure force air out before sealing near the top. This creates a near-vacuum seal without any special equipment.
Have you tried one of our recipes? We’d love to hear what you think!
There are no reviews yet. Be the first one to write one.